3.5 KiB
Flashing the OS image
Download the appropriate memory card image from https://pikvm.org/download.html. Select it based on the board, platform, and the video capture device you are using. For example: choose v2-hdmi-rpi4.img.bz2 for Raspberry Pi 4 with HDMI-to-CSI capture bridge.
Note: right now, pre-compiled images are only available for the Raspberry Pi 4. In all other cases, you will need to build the operating system yourself. But don't worry, it's very simple.
Using Linux CLI
Decompress and flash image and follow to the final steps. Be careful when choosing your device path:
# bzip2 -d v2-hdmi-rpi4.img.bz2
# dd if=v2-hdmi-rpi4.img of=/dev/mmcblkX
Using Balena Etcher (Linux, MacOS and Windows)
-
Download and install Balena Etcher.
-
Decomress the image using your File Manager. If you don't have an archiver (on Windows for example) - the 7-Zip is a great choice. Please note: Balena Etcher have ability to flash compressed images directly, but it is much slower and the process consumes a huge amount of RAM. We strongly recommend you to decompress the image first.
-
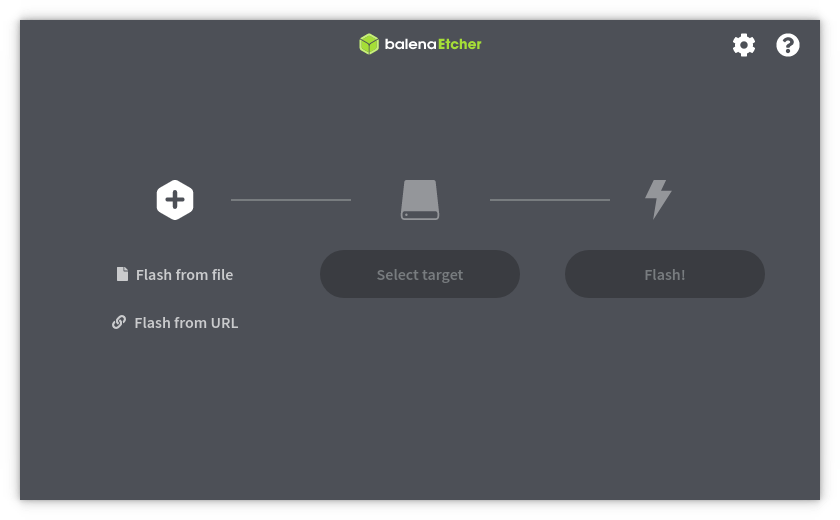
Run Balena Etcher:
-
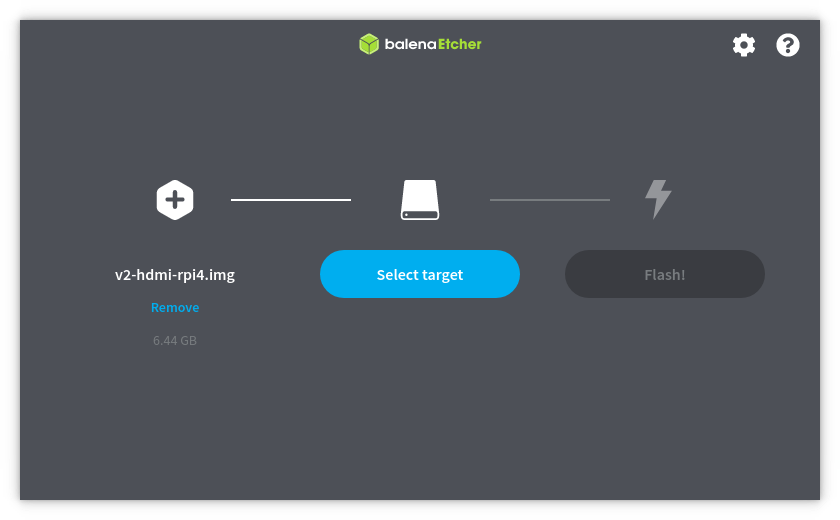
Press Flash from file and choose the image:
-
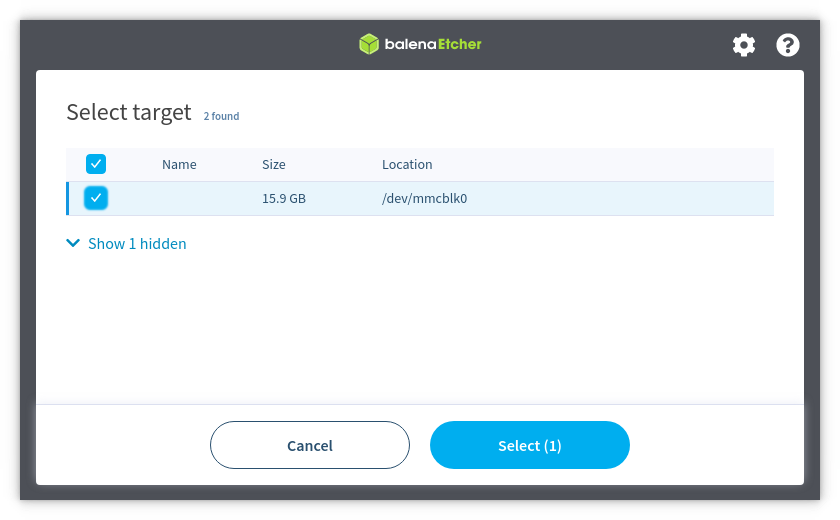
Insert memory card to the card reader. Press Select target and choose your memory card:
-
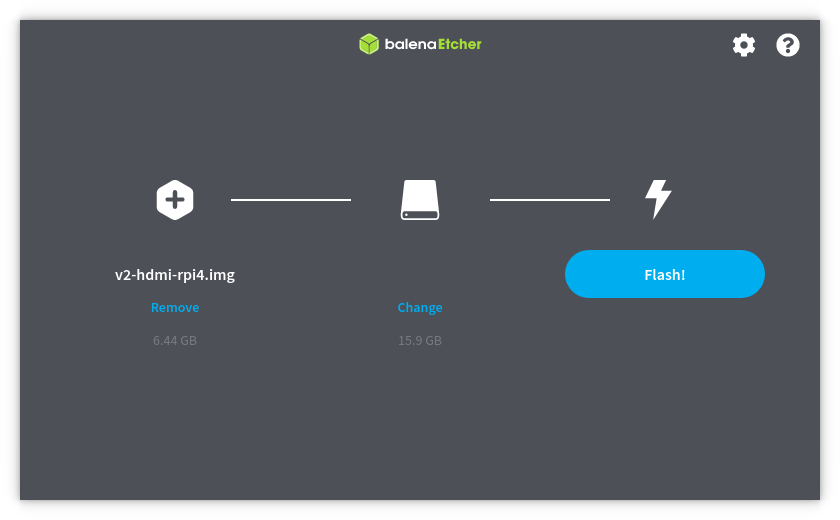
Press Flash! button.
-
Wait for the finish. If an error occurs during flashing, repeat the process:

The final steps
-
When the process is complete, pull out the memory card and insert it into the Raspberry Pi. Turn the power on. Your device will obtain the IP address via DHCP automatically.
-
After power-up, Pi-KVM OS generates unique SSH keys and certificates. Do not turn off the Raspberry Pi until it's fully booted.
-
Congratulations! Your Pi-KVM will be available via SSH (
ssh root@<addr>with passwordrootby default) and HTTPS (try to open in a browser the URLhttps://<addr>, the loginadminand passwordadminby default). For HTTPS a self-signed certificate is used by default. -
To change the root password use command
passwdvia SSH or webterm. To change Pi-KVM web password usekvmd-htpasswd set admin. As indicated on the login screen userwto make the root filesystem writable, before issuing these commands. After making changes, make sure to run the commandro. -
After installation, we recommend you to update your operating system:
# rw # pacman -Syu # reboot -
27.08.2020 note about systemd: the latest version of Arch Linux has a slightly broken systemd. The problem is that SSH to the Pi-KVM host may not work the first time, but the second or third. The Pi-KVM build environment contains a workaround for this problem: in the file
/etc/pam.d/system-loginline-session optional pam_systemd.sois commented. This does not have any negative impact on the PI-KVM functionality, but if you want to, after fixing the systemd (in a couple of months with the next update), you can uncomment this line.
If you have any problems or questions, contact us using Discord: https://discord.gg/bpmXfz5
Subscribe to our Subreddit to follow news and releases: https://www.reddit.com/r/pikvm