|
|
7 years ago | |
|---|---|---|
| docs | 8 years ago | |
| examples | 7 years ago | |
| scripts | 7 years ago | |
| src | 7 years ago | |
| .gitignore | 7 years ago | |
| .travis.yml | 7 years ago | |
| Cargo.toml | 7 years ago | |
| LICENSE | 8 years ago | |
| Makefile | 7 years ago | |
| README.md | 7 years ago | |
README.md
tui-rs


![]()
tui-rs is a Rust library to build rich terminal
user interfaces and dashboards. It is heavily inspired by the Javascript
library blessed-contrib and the
Go library termui.
The library itself supports two different backends to draw to the terminal. You can either choose from:
However, some features may only be available in one of the two.
The library is based on the principle of immediate rendering with intermediate
buffers. This means that at each new frame you should build all widgets that are
supposed to be part of the UI. While providing a great flexibility for rich and
interactive UI, this may introduce overhead for highly dynamic content. So, the
implementation try to minimize the number of ansi escapes sequences generated to
draw the updated UI. In practice, given the speed of Rust the overhead rather
comes from the terminal emulator than the library itself.
Moreover, the library does not provide any input handling nor any event system and you may rely on the previously cited libraries to achieve such features.
Get Started
Create the terminal interface
Every application using tui should start by instantiating a Terminal. It is
a light abstraction over available backends that provides basic functionalities
such as clearing the screen, hiding the cursor, etc. By default only the termion
backend is available.
use tui::Terminal;
use tui::backend::TermionBackend;

fn main() {
  let backend = TermionBackend::new().unwrap();
  let mut terminal = Terminal::new(backend);
}
If for some reason, you might want to use the rustbox backend instead, you
need the to replace your tui dependency specification by:
[dependencies.tui]
version = "0.1.3"
default-features = false
features = ['rustbox']
and then create the terminal in a similar way:
use tui::Terminal;
use tui::backend::RustboxBackend;

fn main() {
  let backend = RustboxBackend::new().unwrap();
  let mut terminal = Terminal::new(backend);
}
Layout
The library comes with a basic yet useful layout management object called
Group. As you may see below and in the examples, the library makes heavy use
of the builder pattern to provide full customization. And the Group object is
no exception:
use tui::widgets::{Block, border};
use tui::layout::{Group, Rect, Direction};

fn draw(t: &mut Terminal<TermionBackend>) {

  let size = t.size().unwrap();

  Group::default()
    /// You first choose a main direction for the group
    .direction(Direction::Vertical)
    /// An optional margin
    .margin(1)
    /// The preferred sizes (heights in this case)
    .sizes(&[Size::Fixed(10), Size::Max(20), Size::Min(10)])
    /// The computed (or cached) layout is then available as the second argument
    /// of the closure
    .render(t, &size, |t, chunks| {
        /// Continue to describe your UI there.
        Block::default()
          .title("Block")
          .borders(border::ALL)
          .render(t, &chunks[0]);
    })
This let you describe responsive terminal UI by nesting groups. You should note that by default the computed layout tries to fill the available space completely. So if for any reason you might need a blank space somewhere, try to pass an additional size to the group and don't use the corresponding area inside the render method.
Once you have finished to describe the UI, you just need to call:
t.draw().unwrap()
to actually draw to the terminal.
Widgets
The library comes with the following list of widgets:
Click on each item to get an example.
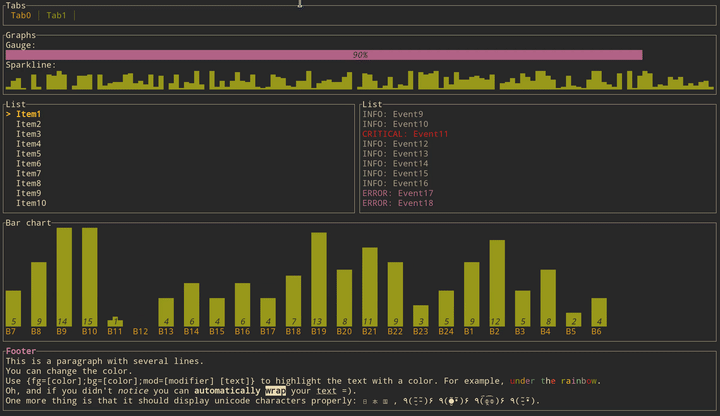
Demo
The source code of the demo gif.
License
Author
Florian Dehau