| .vscode | ||
| assets | ||
| tubearchivist | ||
| .dockerignore | ||
| .gitignore | ||
| deploy.sh | ||
| docker-compose.yml | ||
| Dockerfile | ||
| LICENSE | ||
| nginx.conf | ||
| README.md | ||
| run.sh | ||
| uwsgi.ini | ||
| version_check.py | ||
Your self hosted Youtube media server
Core functionality
- Subscribe to your favourite Youtube channels
- Download Videos using yt-dlp
- Index and make videos searchable
- Play videos
- Keep track of viewed and unviewed videos
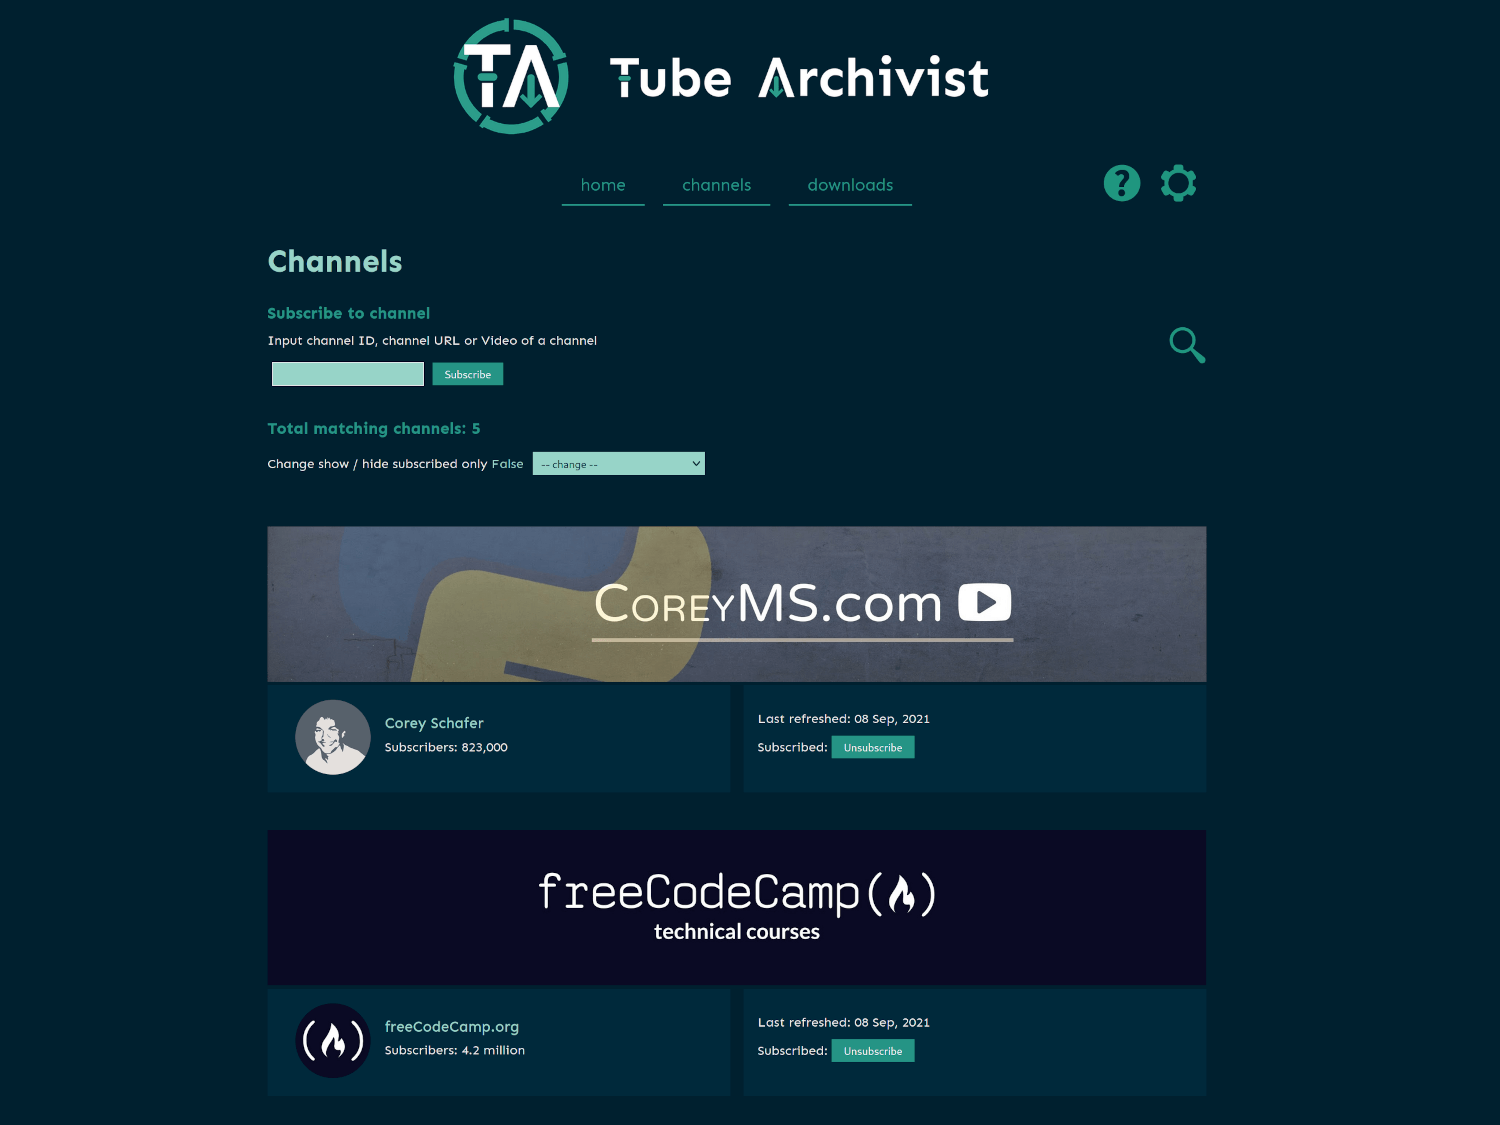
Screenshots
Problem Tube Archivist tries to solve
Once your Youtube video collection grows, it becomes hard to search and find a specific video. That's where Tube Archivist comes in: By indexing your video collection with metadata from Youtube, you can organize, search and enjoy your archived Youtube videos without hassle offline through a convenient web interface.
Installation
Take a look at the example docker-compose.yml file provided. Tube Archivist depends on three main components split up into separate docker containers:
Tube Archivist
The main Python application that displays and serves your video collection, built with Django.
- Serves the interface on port
8000 - Needs a mandatory volume for the video archive at /youtube
- And another recommended volume to save the cache for thumbnails and artwork at /cache.
- The environment variables
ES_URLandREDIS_HOSTare needed to tell Tube Archivist where Elasticsearch and Redis respectively are located. - The environment variables
HOST_UIDandHOST_GIDallows Tube Archivist tochownthe video files to the main host system user instead of the container user.
Elasticsearch
Stores video metadata and makes everything searchable. Also keeps track of the download queue.
- Needs to be accessible over the default port
9200 - Needs a volume at /usr/share/elasticsearch/data to store data
Follow the documentation for additional installation details.
Redis JSON
Functions as a cache and temporary link between the application and the filesystem. Used to store and display messages and configuration variables.
- Needs to be accessible over the default port
6379 - Takes an optional volume at /data to make your configuration changes permanent.
Getting Started
- Go through the settings page and look at the available options. Particularly set Download Format to your desired video quality before downloading. Tube Archivist downloads the best available quality by default.
- Subscribe to some of your favourite Youtube channels on the channels page.
- On the downloads page, click on Rescan subscriptions to add videos from the subscribed channels to your Download queue or click on Add to download queue to manually add Video IDs, links, channels or playlists.
- Click on Download queue and let Tube Archivist to it's thing.
- Enjoy your archived collection!
Import your existing library
So far this depends on the video you are trying to import to be still available on youtube to get the metadata. Add the files you like to import to the /cache/import folder. Then start the process from the settings page Manual media files import. Make sure to follow one of the two methods below.
Method 1:
Add a matching .json file with the media file. Both files need to have the same base name, for example:
- For the media file: <base-name>.mp4
- For the JSON file: <base-name>.info.json
- Alternate JSON file: <base-name>.json
Tube Archivist then looks for the 'id' key within the JSON file to identify the video.
Method 2:
Detect the Youtube ID from filename, this accepts the default yt-dlp naming convention for file names like:
- <base-name>[<youtube-id>].mp4
- The Youtube ID in square brackets at the end of the filename is the crucial part.
Some notes:
- This will consume the files you put into the import folder: Files will get converted to mp4 if needed (this might take a long time...) and moved to the archive, .json files will get deleted upon completion to avoid having doublicates on the next run.
- Maybe start with a subset of your files to import to make sure everything goes well...
- Follow the logs to monitor progress and errors:
docker-compose logs -f tubearchivist.
Potential pitfalls
vm.max_map_count
Elastic Search in Docker requires the kernel setting of the host machine vm.max_map_count to be set to at least 262144.
To temporary set the value run:
sudo sysctl -w vm.max_map_count=262144
To apply the change permanently depends on your host operating system:
- For example on Ubuntu Server add
vm.max_map_count = 262144to the file /etc/sysctl.conf. - On Arch based systems create a file /etc/sysctl.d/max_map_count.conf with the content
vm.max_map_count = 262144. - On any other platform look up in the documentation on how to pass kernel parameters.
Permissions for elasticsearch
If you see a message similar to AccessDeniedException[/usr/share/elasticsearch/data/nodes] when initially starting elasticsearch, that means the container is not allowed to write files to the volume.
That's most likely the case when you run docker-compose as an unprivileged user. To fix that issue, shutdown the container and on your host machine run:
chown 1000:0 /path/to/mount/point
This will match the permissions with the UID and GID of elasticsearch within the container and should fix the issue.
Roadmap
This should be considered as a minimal viable product, there is an extensive list of future functions and improvements planned.
Functionality
- Access control
- User roles
- Delete videos and channel
- Create playlists
- Backup and restore
- Podcast mode to serve channel as mp3
- Implement PyFilesystem for flexible video storage
- Scan your filesystem to index already downloaded videos [2021-09-14]
UI
- Show similar videos on video page
- Multi language support
- Grid and list view for both channel and video list pages
- Show total video downloaded vs total videos available in channel
Known limitations
- Video files created by Tube Archivist need to be mp4 video files for best browser compatibility.
- Every limitation of yt-dlp will also be present in Tube Archivist. If yt-dlp can't download or extract a video for any reason, Tube Archivist won't be able to either.
- For now this is meant to be run in a trusted network environment.


