|
|
5 years ago | |
|---|---|---|
| README.md | 5 years ago | |
| image1.png | 5 years ago | |
README.md
DIY IP KVM System with WEB-interface using Raspberry Pi
Stand-alone IP KVM device with web interface with various video capture options and bunch of features like keyboard/mouse control, ATX control (power/reset/ HDD load), Mass-Storage Device.
Minimal hardware implementation
- Raspberry Pi 2, 3 or 4(work in progress)
- MicroSD card
- Raspberry Pi power supply
Video capture side for lowcost S-Video
- Easycap UTV007 device (https://www.amazon.com/dp/B0126O0RDC)
- HDMI to S-Video (not all options work, but these two have been tested) (https://www.amazon.com/dp/B012MDMWLM or https://www.amazon.com/gp/product/B01E56CV42)
Video capture side for HDMI
- B101 HDMI to CSI-2 Bridge (https://auvidea.eu/b101-hdmi-to-csi-2-bridge-15-pin-fpc/)
HID Subsystem and ATX control
- Arduino Pro Micro with hardware USB for HID sub-system
- GPIO cables
- 2-Channel Relay Module
- Optocouplers
Setting up the hardware
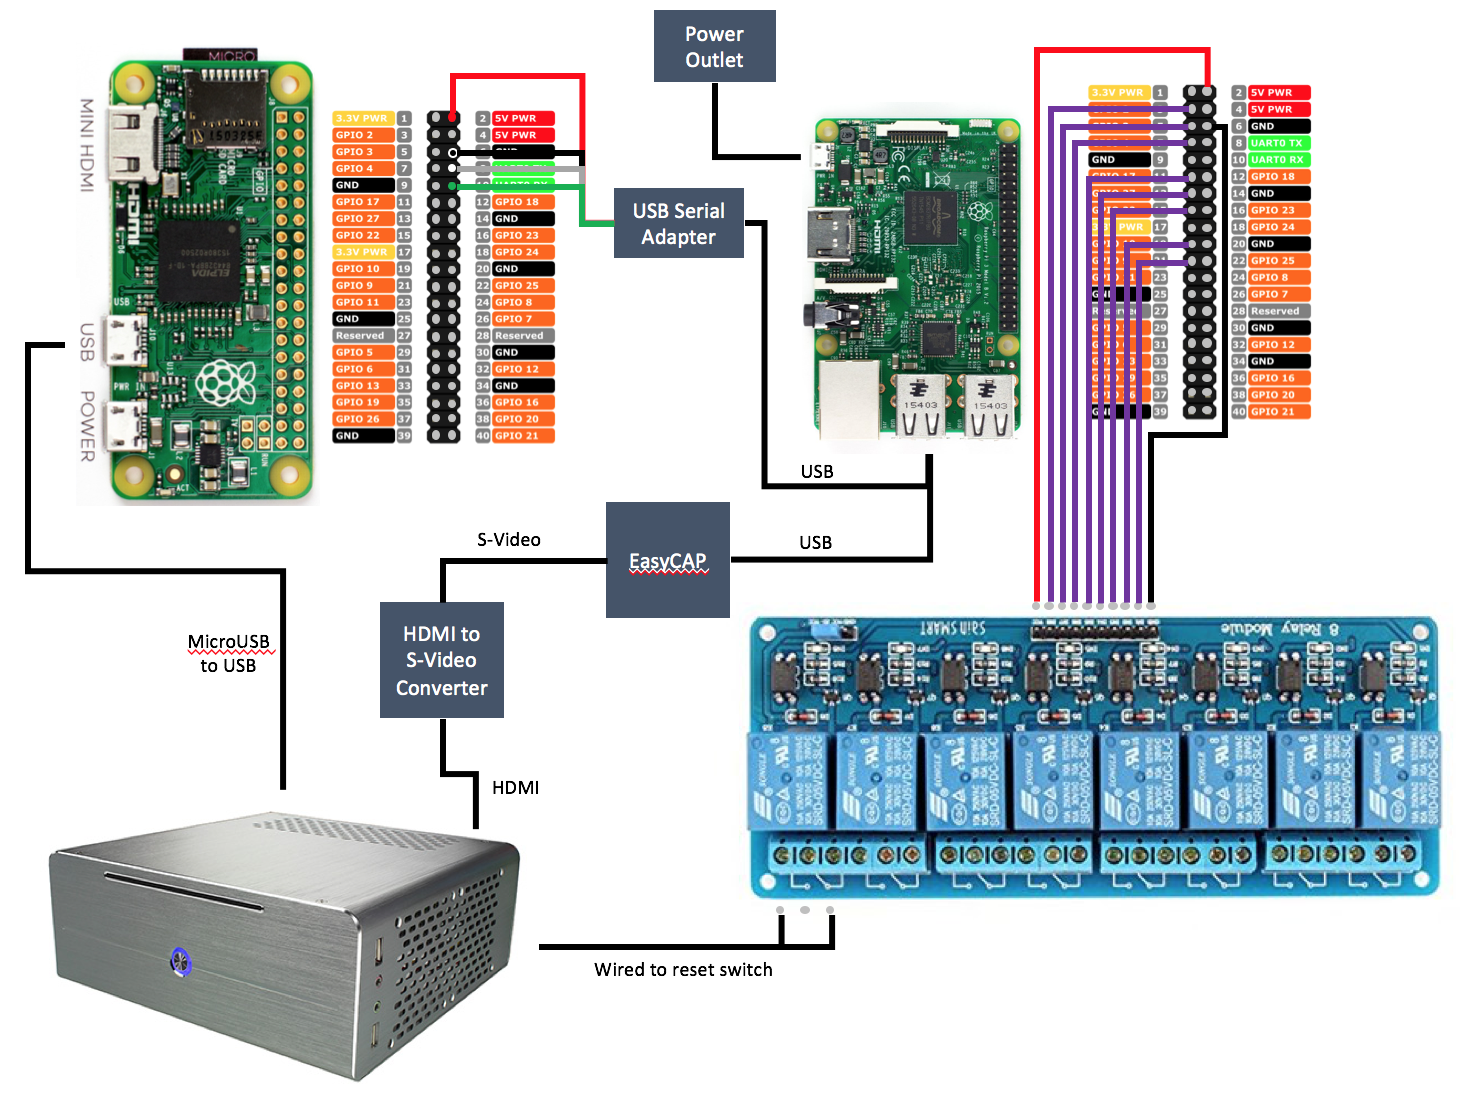
Here is a diagram of how you connect all of the pieces:

View the high resolution version
The detailed process is to:
- Connect the Pi3 to the relay board using this method: http://youtu.be/oaf_zQcrg7g
- Connect the Pi0 to the Pi3 using this method: https://www.thepolyglotdeveloper.com/2017/02/connect-raspberry-pi-pi-zero-usb-ttl-serial-cable/. You do not need to supply power to the Pi0, it will get power via the GPIO pins.
- Plug the easycap device and the USB TTL device into the USB ports on the Pi3
- Connect the HDMI out of your computer into the HDMI to S-Video box, and connect it to the EasyCap device via an S-Video cable
- Connect the Pi0 to the server via a microUSB to USB male cable
Quick Install
The quick method of installation is to simply run the install script on the Pi3 as the pi user:
wget https://raw.githubusercontent.com/Fmstrat/diy-ipmi/master/install.sh
chmod +x install.sh
./install.sh
Everything will be done on the Pi3 and Pi0 automatically with the video input defaulting to s-video.
If you would like to manage multiple servers with one IPMI system, please see the Managing multiple servers section below.
Be sure to check the bottom of this README for Tips and Troubleshooting!
The long way
If you would like to do things step by step to understand how things work, the following instructions can be used.
Setting up the Pi 3
First, let's get all the software we need:
sudo apt-get update
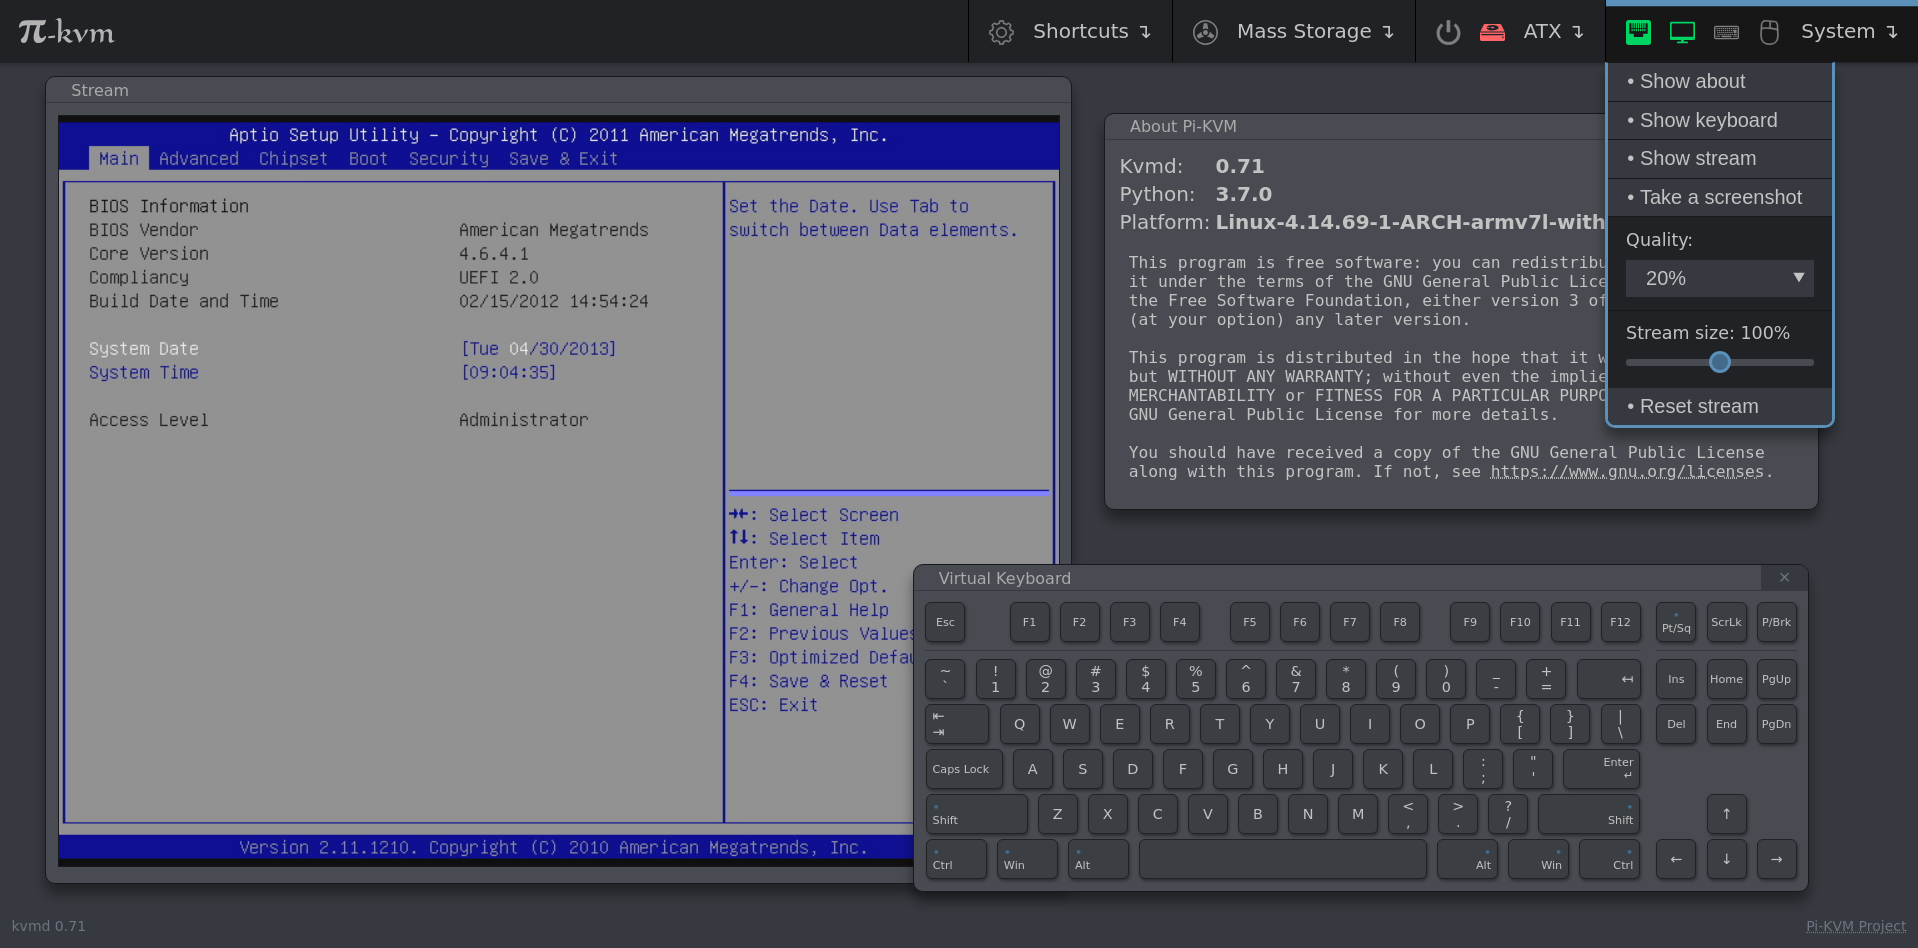
Access the IPMI
You should now be able to access the IPMI console at http://<RaspberryPi3IP>/. From here you can set up SSL and port forwarding to the device as your situation requires.