# Flashing the OS image
Download the appropriate memory card image from https://pikvm.org/download.html. Select it based on the board, platform, and the video capture device you are using. For example: choose **v2-hdmi-rpi4.img.bz2** for Raspberry Pi 4 with HDMI-to-CSI capture bridge.
Note: right now, pre-compiled images are only available for the Raspberry Pi 4 and ZeroW. In all other cases, you will need to build the operating system yourself. But don't worry, it's [very simple](building_os.md).
## Using Linux CLI
Decompress and flash image and follow to the [final steps](#the-final-steps). Be careful when choosing your device path:
```
# bzip2 -d v2-hdmi-rpi4.img.bz2
# dd if=v2-hdmi-rpi4.img of=/dev/mmcblkX
```
## Using balenaEtcher (Linux, MacOS and Windows)
1. Download and install [balenaEtcher](https://www.balena.io/etcher).
2. Even on modern computers it might be faster to first extract the compressed image first. A bug in a balenaEtcher prior to version 1.5.108 caused it to use large amounts of RAM and a tediously slow flashing process. Extract the image using your favorite archive software. If you don't have one that supports .bz2 images (on Windows for example) - [7-Zip](https://www.7-zip.org) is a great (free) choice.
_Flashing the compressed image directly: ~12 minutes; extracting first (~1 minute on an SSD) and flashing afterwards only takes ~3 minutes._
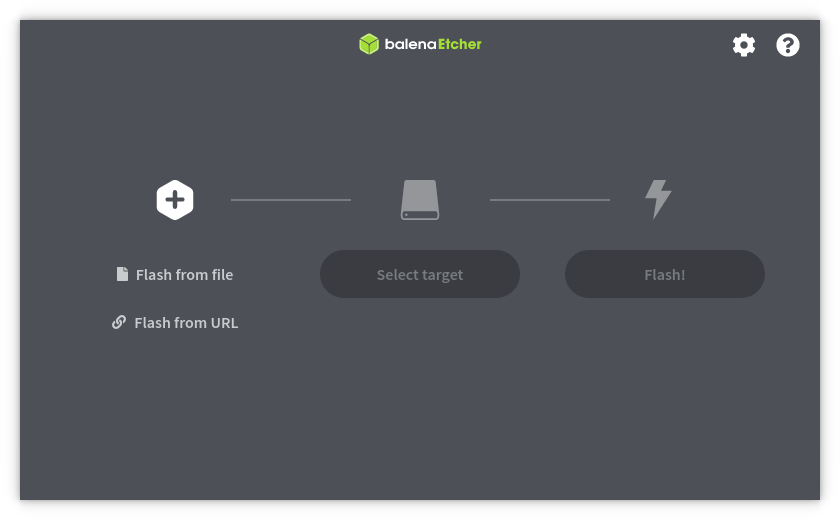
3. Run Balena Etcher:
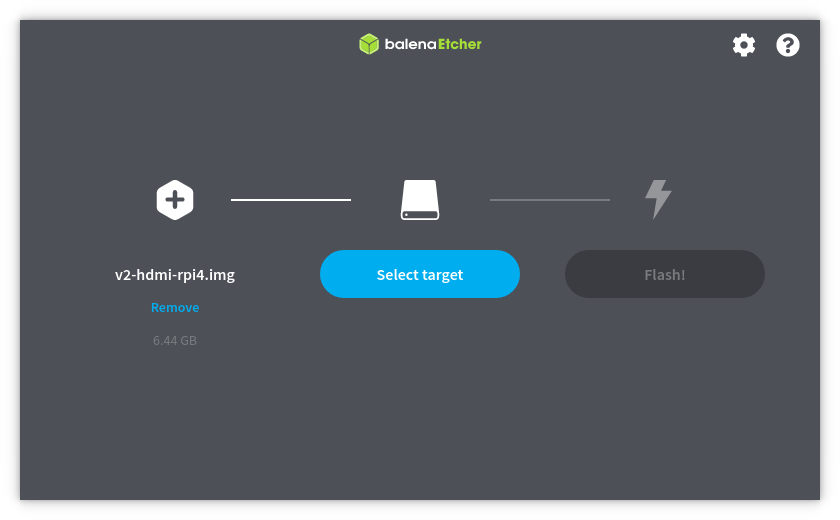
 4. Press **Flash from file** and select the image:
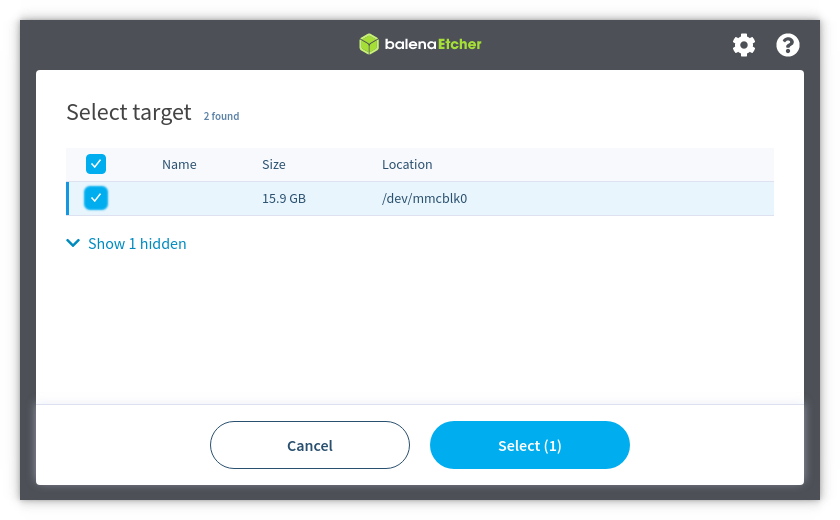
 5. Insert the memory card into the card reader. Press **Select target** and choose your memory card:
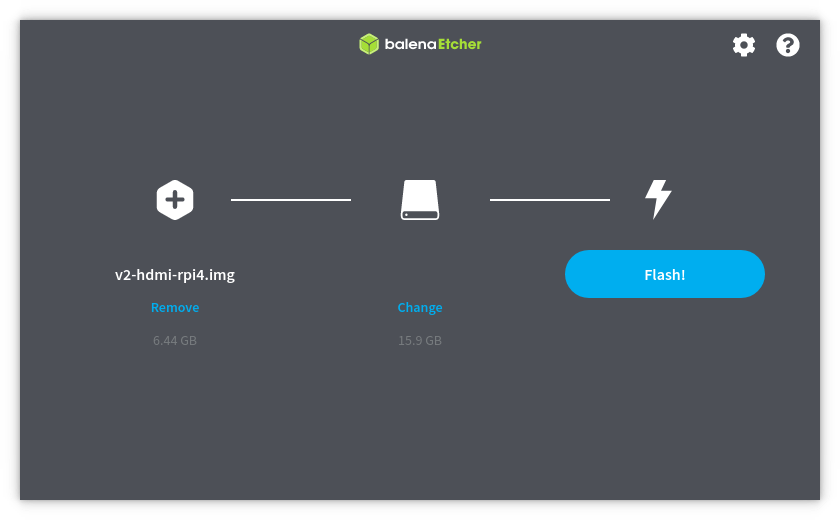
 6. Press **Flash!** button.
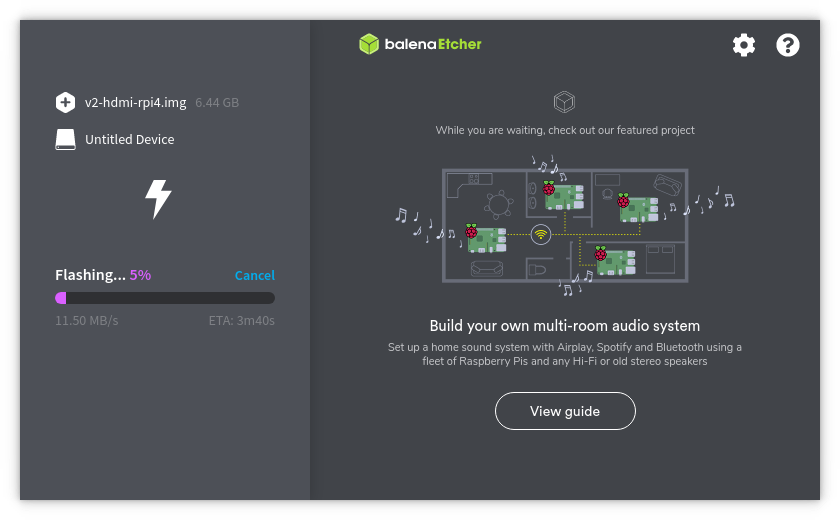
 7. Wait for the process to finish. Get yourself a coffee or do some stretching. :wink: If an error occurs during flashing, repeat the process:
 **NOTE** - If Etcher does not work for you and you continue to get failed bootup's, download RaspberryPi imager and use that instead
## The final steps
1. **Important for ZeroW**. In order for your device to connect to Wi-Fi, you will have to tell it which network to use with which password. To do this, mount the first partition of the memory card (FAT32) and edit the `pikvm.txt` file there. Do not remove line `FIRSTBOOT=1`, just add your wifi settings like this:
```
FIRSTBOOT=1
WIFI_ESSID="mynet"
WIFI_PASSWD="p@s$$w0rd"
```
There is a possibility that, in countries that support CH13, the ZeroW will not connect. You will need to configure your router to disable channels 12-14 or disable Auto scan mode so it will connect.
Save, unmount and follow the next step.
**NOTE** - This can also be applied to the latest Rpi4 images, it is however easier to set this up using `wifi-menu -o`
**NOTE** - If Etcher does not work for you and you continue to get failed bootup's, download RaspberryPi imager and use that instead
## The final steps
1. **Important for ZeroW**. In order for your device to connect to Wi-Fi, you will have to tell it which network to use with which password. To do this, mount the first partition of the memory card (FAT32) and edit the `pikvm.txt` file there. Do not remove line `FIRSTBOOT=1`, just add your wifi settings like this:
```
FIRSTBOOT=1
WIFI_ESSID="mynet"
WIFI_PASSWD="p@s$$w0rd"
```
There is a possibility that, in countries that support CH13, the ZeroW will not connect. You will need to configure your router to disable channels 12-14 or disable Auto scan mode so it will connect.
Save, unmount and follow the next step.
**NOTE** - This can also be applied to the latest Rpi4 images, it is however easier to set this up using `wifi-menu -o`
**NOTE** - For ZeroW w/o header, if you add this [device](https://www.pishop.us/product/solderless-serial-to-usb-adapter-for-raspberry-pi-zero/), this will add a local console without breaking the current overlay. To Access for example: Look for `ZeroW console serial` in windows and update the driver from the [VCP driver section](https://ftdichip.com/drivers/vcp-drivers/)
2. When the process is complete, pull out the memory card and insert it into the Raspberry Pi. Connect the Raspberry Pi to the power supply. Your device will obtain the IP address via DHCP automatically.
:exclamation:Windows users: balenaEtcher will automatically safely remove the memory card. If you are using a Windows version prior to Windows 10 1809 and a different flashing software, you should do the safe remove manually.
3. After power-up, Pi-KVM OS generates unique SSH keys and certificates. Do not turn off the Raspberry Pi until it's fully booted. If you set up Wi-Fi in step 1, it won't be able to connect to the network on the first boot. You need to wait 10 minutes for all the OS preparations to complete, then just restart the device. On the second boot, the Raspberry will connect to the network without any problems.
4. Congratulations! Your Pi-KVM will be available via SSH (`ssh root@` with the password `root` by default) and HTTPS. In most networks you should be able to reach Pi-KVM via any browser with the URL `https://pikvm/`. If that doesn't work you'll need to find the IP address manually in your router and try it via `https://`. The default login username is `admin` with `admin` as the password). For HTTPS a self-signed certificate is used by default. Your browser will give you a warning about an invalid SSL certificate which you can safely ignore.
Please see this page for additional functionality https://github.com/pikvm/pikvm/tree/master/pages
5. To change the root password use command `passwd` via SSH or webterm. To change Pi-KVM web password use `kvmd-htpasswd set admin`. As indicated on the login screen, you need to use `rw` to make the root filesystem writable before issuing these commands. After making changes, make sure to run the command `ro` to switch the filesystem back to read-only. If you are using a web terminal, use the `su -` command to get root access (enter the root password).
6. After installation, we recommend you to update your operating system:
```
rw
pacman -Syu
reboot
```
**NOTE** - PROXY servers make networks behave not in a normal manor, therefor, may or may not update properly. The end user is ultimately responsible for coming up with solutions to combat this.
7. Pacman saves all installed packages in a compressed format so that you can roll back to the old version if something goes wrong. After you've updated and made sure everything works, it makes sense to clear the package cache so that it doesn't take up space on the SD card:
```
# rw
# pacman -Sc
# rm -rf /var/cache/pacman/pkg
# ro
```
8. **Important note for HDMI-USB dongle** users only. Because of this, many video capture devices tell the server's video card that the HDMI cable is supposedly disconnected. This may lead to the fact that if you boot the server without an active stream, the server will not detect your capture card. This is easy to fix:
* Switch filesystem to RW-mode:
```
# rw
```
* Edit file `/etc/kvmd/override.yaml` and add these lines:
```yaml
kvmd:
streamer:
forever: true
cmd_append: [--slowdown]
```
* Finish:
```
# ro
# systemctl restart kvmd
```
If you have any problems or questions, contact us using Discord: https://discord.gg/bpmXfz5
Subscribe to our Subreddit to follow news and releases: https://www.reddit.com/r/pikvm