|
|
3 years ago | |
|---|---|---|
| .. | ||
| README.md | 3 years ago | |
| cleared-window.png | 5 years ago | |
| no-clear.png | 4 years ago | |
README.md
The Swapchain
First, some house keeping: State
For convenience we're going to pack all the fields into a struct, and create some methods on that.
// main.rs
use winit::window::Window;

struct State {
    surface: wgpu::Surface,
    device: wgpu::Device,
    queue: wgpu::Queue,
    sc_desc: wgpu::SwapChainDescriptor,
    swap_chain: wgpu::SwapChain,
    size: winit::dpi::PhysicalSize<u32>,
}

impl State {
    // Creating some of the wgpu types requires async code
    async fn new(window: &Window) -> Self {
        todo!()
    }

    fn resize(&mut self, new_size: winit::dpi::PhysicalSize<u32>) {
        todo!()
    }

    fn input(&mut self, event: &WindowEvent) -> bool {
        todo!()
    }

    fn update(&mut self) {
        todo!()
    }

    fn render(&mut self) -> Result<(), wgpu::SwapChainError> {
        todo!()
    }
}
I'm glossing over States fields, but they'll make more sense as I explain the code behind the methods.
State::new()
The code for this is pretty straight forward, but let's break this down a bit.
impl State {
    // ...
    async fn new(window: &Window) -> Self {
        let size = window.inner_size();

        // The instance is a handle to our GPU
        // BackendBit::PRIMARY => Vulkan + Metal + DX12 + Browser WebGPU
        let instance = wgpu::Instance::new(wgpu::BackendBit::PRIMARY);
        let surface = unsafe { instance.create_surface(window) };
        let adapter = instance.request_adapter(
            &wgpu::RequestAdapterOptions {
                power_preference: wgpu::PowerPreference::default(),
                compatible_surface: Some(&surface),
            },
        ).await.unwrap();
The surface is used to create the swap_chain. Our window needs to implement raw-window-handle's HasRawWindowHandle trait to access the native window implementation for wgpu to properly create the graphics backend. Fortunately, winit's Window fits the bill. We also need it to request our adapter.
We need the adapter to create the device and queue.
        let (device, queue) = adapter.request_device(
            &wgpu::DeviceDescriptor {
                features: wgpu::Features::empty(),
                limits: wgpu::Limits::default(),
                label: None,
            },
            None, // Trace path
        ).await.unwrap();
The features field on DeviceDescriptor, allows us to specify what extra features we want. For this simple example, I've decided not to use any extra features.
The device you have limits the features you can use. If you want to use certain features you may need to limit what devices you support, or provide work arounds.
You can get a list of features supported by your device using adapter.features(), or device.features().
You can view a full list of features here.
The limits field describes the limit of certain types of resource we can create. We'll use the defaults for this tutorial, so we can support most devices. You can view a list of limits here.
        let sc_desc = wgpu::SwapChainDescriptor {
            usage: wgpu::TextureUsage::RENDER_ATTACHMENT,
            format: adapter.get_swap_chain_preferred_format(&surface).unwrap(),
            width: size.width,
            height: size.height,
            present_mode: wgpu::PresentMode::Fifo,
        };
        let swap_chain = device.create_swap_chain(&surface, &sc_desc);
Here we are defining and creating the swap_chain. The usage field describes how the swap_chain's underlying textures will be used. RENDER_ATTACHMENT specifies that the textures will be used to write to the screen (we'll talk about more TextureUsages later).
The format defines how the swap_chains textures will be stored on the gpu. Different displays prefer different formats. We use adapter.get_swap_chain_preferred_format() to figure out the best format to use.
width and height, are the width and height in pixels of the swap chain. This should usually be the width and height of the window.
The present_mode uses the wgpu::PresentMode enum which determines how to sync the swap chain with the display. You can see all the options in the docs
At the end of the method, we simply return the resulting struct.
        Self {
            surface,
            device,
            queue,
            sc_desc,
            swap_chain,
            size,
        }
    }
    // ...
}
We'll want to call this in our main method before we enter the event loop.
use futures::executor::block_on;

// Since main can't be async, we're going to need to block
let mut state = block_on(State::new(&window));
You can use libraries like async_std and tokio to make main async, so you can await futures. I've elected not to use these crates as this tutorial is not about writing an async application. We just need some way to interact with wgpu's async functions, and the futures crate is enough for that.
resize()
If we want to support resizing in our application, we're going to need to recreate the swap_chain everytime the window's size changes. That's the reason we stored the physical size and the sc_desc used to create the swapchain. With all of these, the resize method is very simple.
// impl State
fn resize(&mut self, new_size: winit::dpi::PhysicalSize<u32>) {
    self.size = new_size;
    self.sc_desc.width = new_size.width;
    self.sc_desc.height = new_size.height;
    self.swap_chain = self.device.create_swap_chain(&self.surface, &self.sc_desc);
}
There's nothing really different here from creating the swap_chain initially, so I won't get into it.
We call this method in main() in the event loop for the following events.
match event {
    // ...

    } if window_id == window.id() => if !state.input(event) {
        match event {
            // ...

            WindowEvent::Resized(physical_size) => {
                state.resize(*physical_size);
            }
            WindowEvent::ScaleFactorChanged { new_inner_size, .. } => {
                // new_inner_size is &&mut so we have to dereference it twice
                state.resize(**new_inner_size);
            }
            // ...
}
input()
input() returns a bool to indicate whether an event has been fully processed. If the method returns true, the main loop won't process the event any further.
We're just going to return false for now because we don't have any events we want to capture.
// impl State
fn input(&mut self, event: &WindowEvent) -> bool {
    false
}
We need to do a little more work in the event loop. We want State to have priority over main(). Doing that (and previous changes) should have your loop looking like this.
// main()
event_loop.run(move |event, _, control_flow| {
    match event {
        Event::WindowEvent {
            ref event,
            window_id,
        } if window_id == window.id() => if !state.input(event) { // UPDATED!
            match event {
                WindowEvent::CloseRequested => *control_flow = ControlFlow::Exit,
                WindowEvent::KeyboardInput {
                    input,
                    ..
                } => {
                    match input {
                        KeyboardInput {
                            state: ElementState::Pressed,
                            virtual_keycode: Some(VirtualKeyCode::Escape),
                            ..
                        } => *control_flow = ControlFlow::Exit,
                        _ => {}
                    }
                }
                WindowEvent::Resized(physical_size) => {
                    state.resize(*physical_size);
                }
                WindowEvent::ScaleFactorChanged { new_inner_size, .. } => {
                    state.resize(**new_inner_size);
                }
                _ => {}
            }
        }
        _ => {}
    }
});
update()
We don't have anything to update yet, so leave the method empty.
fn update(&mut self) {
    // remove `todo!()`
}
render()
Here's where the magic happens. First we need to get a frame to render to. This will include a wgpu::Texture and wgpu::TextureView that will hold the actual image we're drawing to (we'll cover this more when we talk about textures).
// impl State

fn render(&mut self) -> Result<(), wgpu::SwapChainError> {
    let frame = self
        .swap_chain
        .get_current_frame()?
        .output;
We also need to create a CommandEncoder to create the actual commands to send to the gpu. Most modern graphics frameworks expect commands to be stored in a command buffer before being sent to the gpu. The encoder builds a command buffer that we can then send to the gpu.
    let mut encoder = self.device.create_command_encoder(&wgpu::CommandEncoderDescriptor {
        label: Some("Render Encoder"),
    });
Now we can actually get to clearing the screen (long time coming). We need to use the encoder to create a RenderPass. The RenderPass has all the methods to do the actual drawing. The code for creating a RenderPass is a bit nested, so I'll copy it all here, and talk about the pieces.
    {
        let _render_pass = encoder.begin_render_pass(&wgpu::RenderPassDescriptor {
            label: Some("Render Pass"),
            color_attachments: &[
                wgpu::RenderPassColorAttachment {
                    view: &frame.view,
                    resolve_target: None,
                    ops: wgpu::Operations {
                        load: wgpu::LoadOp::Clear(wgpu::Color {
                            r: 0.1,
                            g: 0.2,
                            b: 0.3,
                            a: 1.0,
                        }),
                        store: true,
                    }
                }
            ],
            depth_stencil_attachment: None,
        });
    }

    // submit will accept anything that implements IntoIter
    self.queue.submit(std::iter::once(encoder.finish()));

    Ok(())
}
First things first, let's talk about the {}. encoder.begin_render_pass(...) borrows encoder mutably (aka &mut self). We can't call encoder.finish() until we release that mutable borrow. The {} around encoder.begin_render_pass(...) tells rust to drop any variables within them when the code leaves that scope thus releasing the mutable borrow on encoder and allowing us to finish() it. If you don't like the {}, you can also use drop(render_pass) to achieve the same effect.
We can get the same results by removing the {}, and the let _render_pass = line, but we need access to the _render_pass in the next tutorial, so we'll leave it as is.
The last lines of the code tell wgpu to finish the command buffer, and to submit it to the gpu's render queue.
We need to update the event loop again to call this method. We'll also call update before it too.
// main()
event_loop.run(move |event, _, control_flow| {
    match event {
        // ...
        Event::RedrawRequested(_) => {
            state.update();
            match state.render() {
                Ok(_) => {}
                // Recreate the swap_chain if lost
                Err(wgpu::SwapChainError::Lost) => state.resize(state.size),
                // The system is out of memory, we should probably quit
                Err(wgpu::SwapChainError::OutOfMemory) => *control_flow = ControlFlow::Exit,
                // All other errors (Outdated, Timeout) should be resolved by the next frame
                Err(e) => eprintln!("{:?}", e),
            }
        }
        Event::MainEventsCleared => {
            // RedrawRequested will only trigger once, unless we manually
            // request it.
            window.request_redraw();
        }
        // ...
    }
});
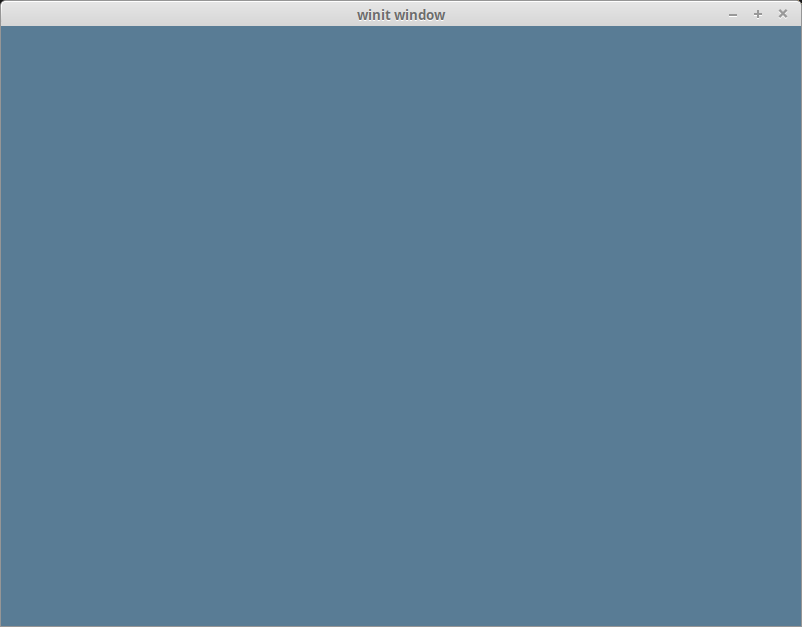
With all that, you should be getting something that looks like this.
Wait, what's going on with RenderPassDescriptor?
Some of you may be able to tell what's going on just by looking at it, but I'd be remiss if I didn't go over it. Let's take a look at the code again.
&wgpu::RenderPassDescriptor {
    label: Some("Render Pass"),
    color_attachments: &[
        // ...
    ],
    depth_stencil_attachment: None,
}
A RenderPassDescriptor only has three fields: label, color_attachments and depth_stencil_attachment. The color_attachements describe where we are going to draw our color to. We'll use depth_stencil_attachment later, but we'll set it to None for now.
wgpu::RenderPassColorAttachment {
    view: &frame.view,
    resolve_target: None,
    ops: wgpu::Operations {
        load: wgpu::LoadOp::Clear(wgpu::Color {
            r: 0.1,
            g: 0.2,
            b: 0.3,
            a: 1.0,
        }),
        store: true,
    }
}
The RenderPassColorAttachment has the view field which informs wgpu what texture to save the colors to. In this case we specify frame.view that we created using swap_chain.get_current_frame(). This means that any colors we draw to this attachment will get drawn to the screen.
The resolve_target is the texture that will receive the resolved output. This will be the same as attachment unless multisampling is enabled. We don't need to specify this, so we leave it as None.
The ops field takes a wpgu::Operations object. This tells wgpu what to do with the colors on the screen (specified by frame.view). The load field tells wgpu how to handle colors stored from the previous frame. Currently we are clearing the screen with a bluish color.
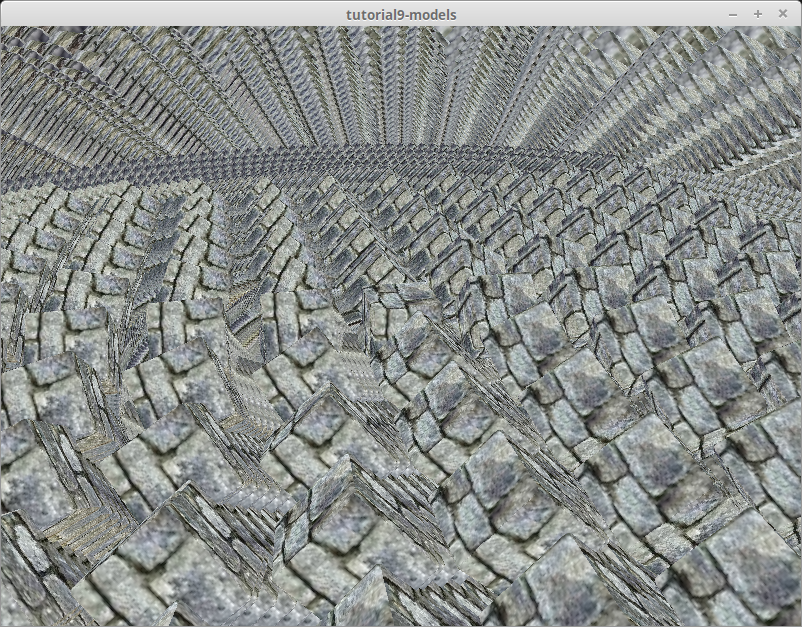
It's not uncommon to not clear the screen if the screen is going to be completely covered up with objects. If your scene doesn't cover the entire screen however you can end up with something like this.
Challenge
Modify the input() method to capture mouse events, and update the clear color using that. Hint: you'll probably need to use WindowEvent::CursorMoved.