|
|
9 years ago | |
|---|---|---|
| .. | ||
| README.md | 9 years ago | |
| hotglue-left-hand.jpg | 9 years ago | |
| left-hand-mcp-1.jpg | 9 years ago | |
| left-hand-mcp-2.jpg | 9 years ago | |
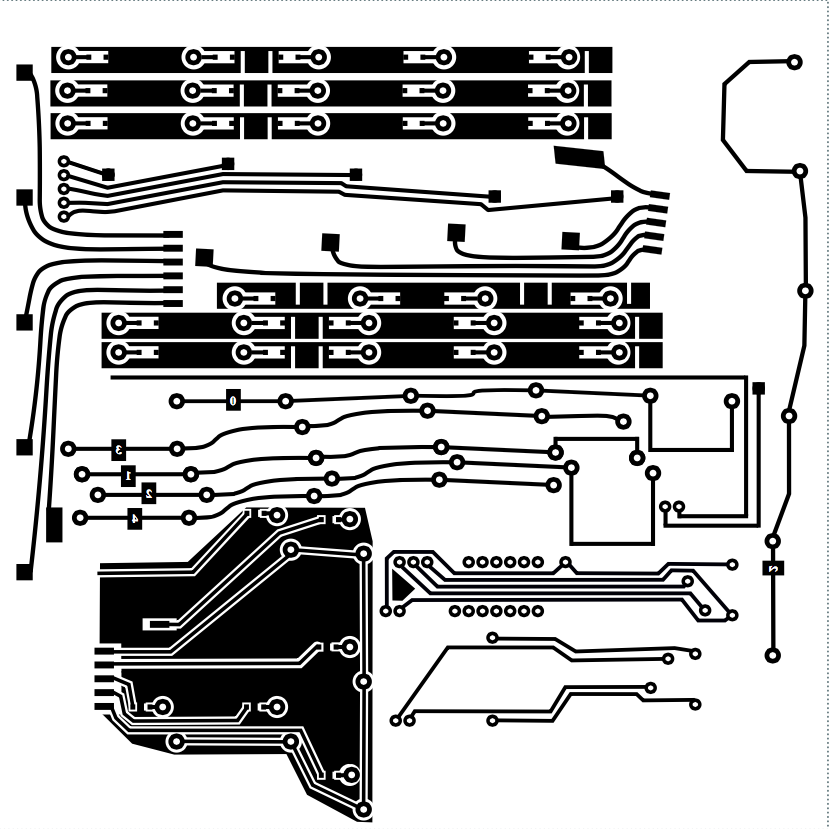
| left-hand-pcb-pyralux.png | 9 years ago | |
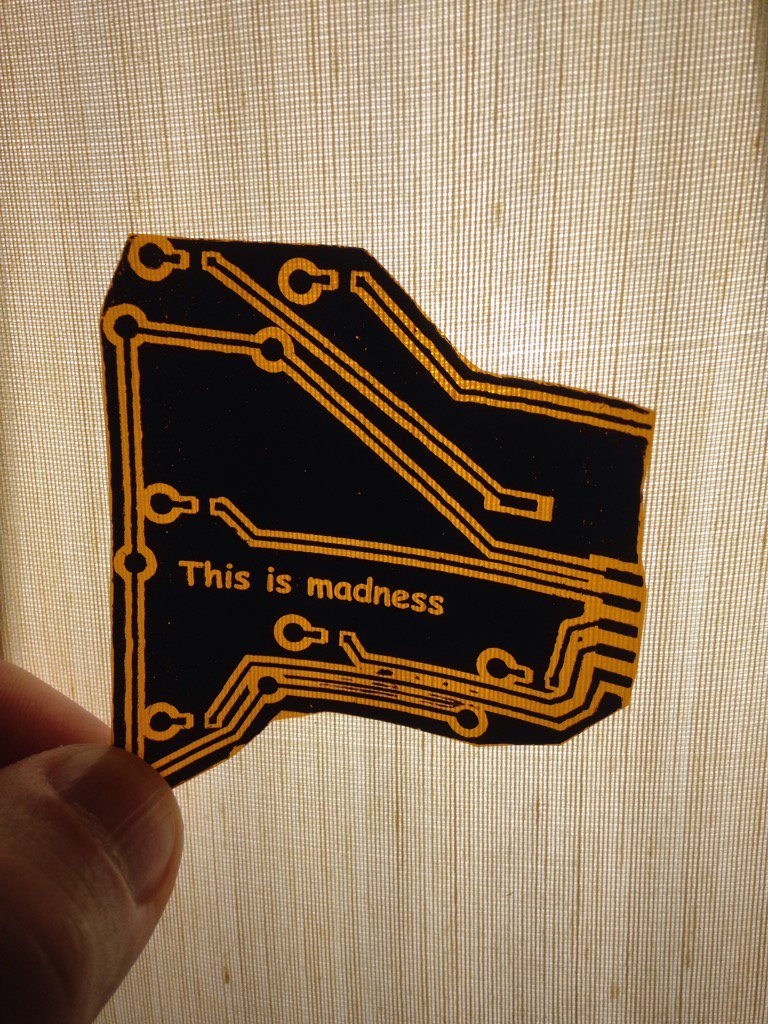
| madness.jpg | 9 years ago | |
| right-hand-pcb-1.jpg | 9 years ago | |
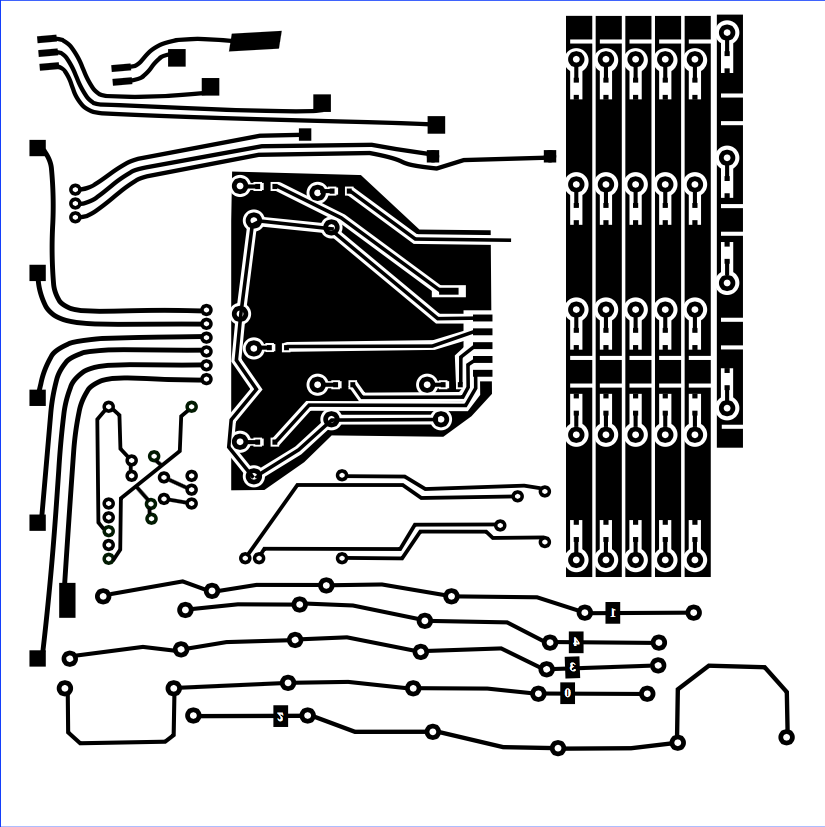
| right-hand-pcb-pyralux.png | 9 years ago | |
| right-hand-pcb-with-teensy.jpg | 9 years ago | |
| teensy-1.jpg | 9 years ago | |
| teensy-2-fuxor-reziztorrs.jpg | 9 years ago | |
| workbench.jpg | 9 years ago | |
README.md
Dactyl Flexible PCB Rough Guide

For now, take a look at the images and try to figure things out, I know that's not great (it's better than nothing!)
Making the PCB
Get two sheets of 6in square Pyralux™. Use the Toner Transfer method to etch the Pyralux sheets as you would a usual PCB
NOTE: If you only have an Inkjet make photocopies of the print out, voilà Toner based copies!
Here's a handy toner transfer guide ...
Print these PCB designs out...
Left hand:
Right hand:
When you're done etching, you'll need to carefully cut the pcb into pieces... See the images below.
This is Madness...
The thumb cluster pcb for the left hand:
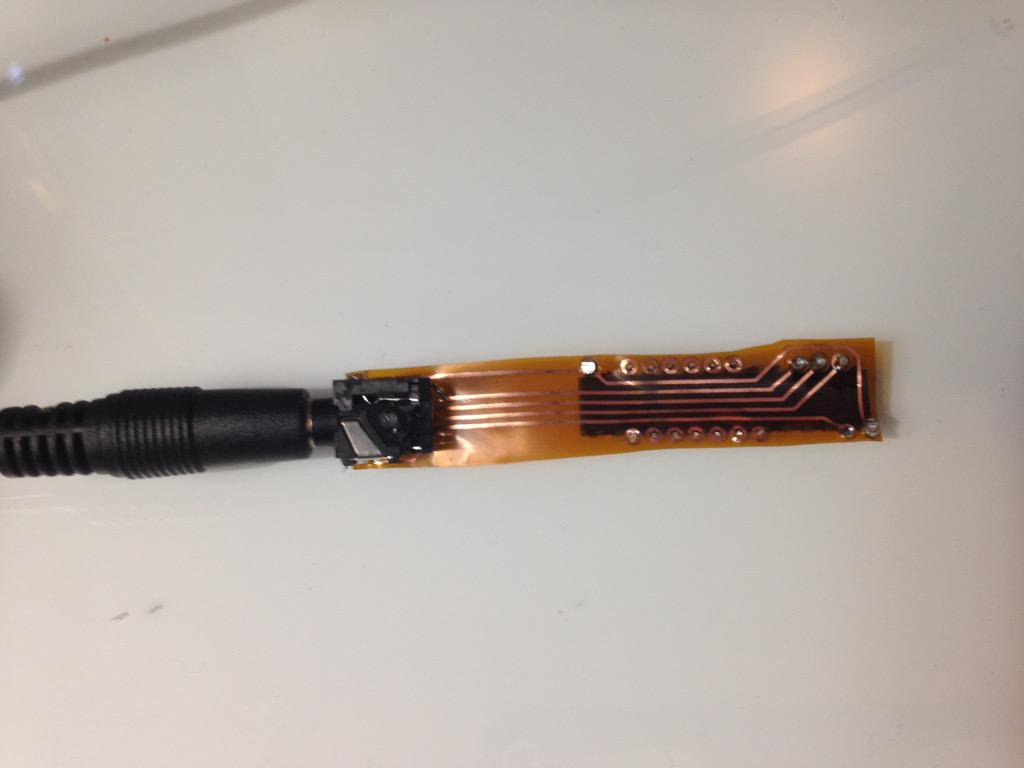
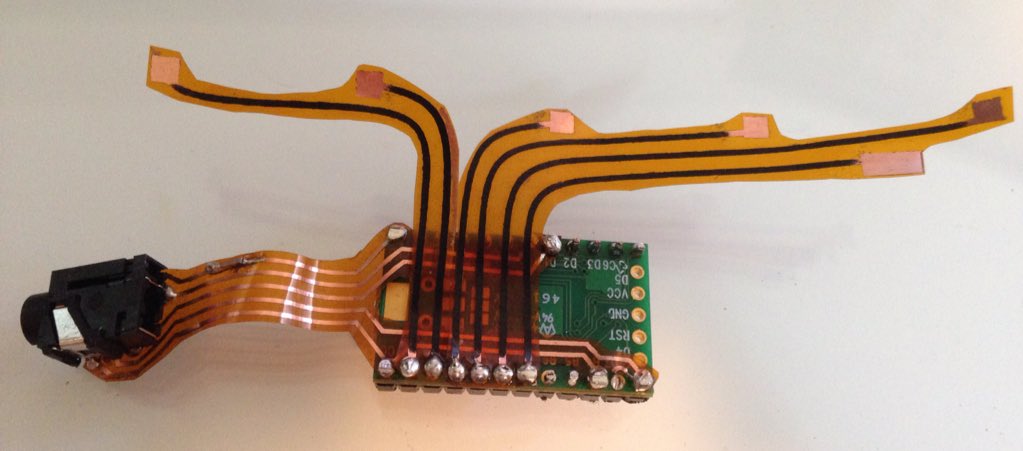
Solder the MCP like so:
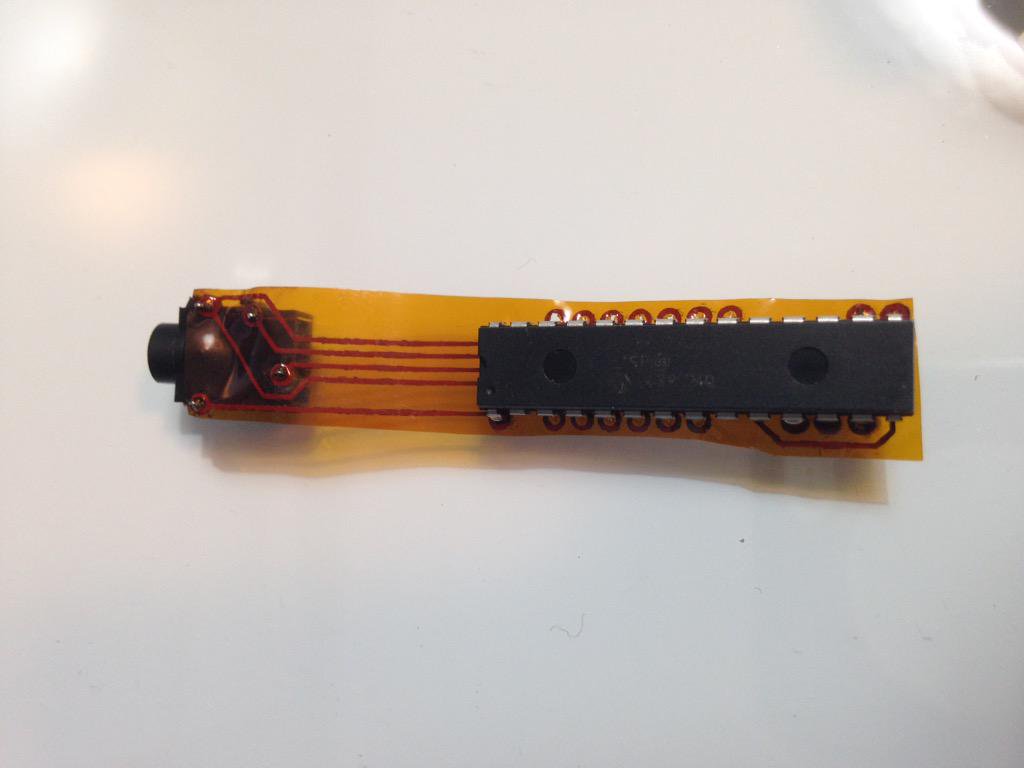
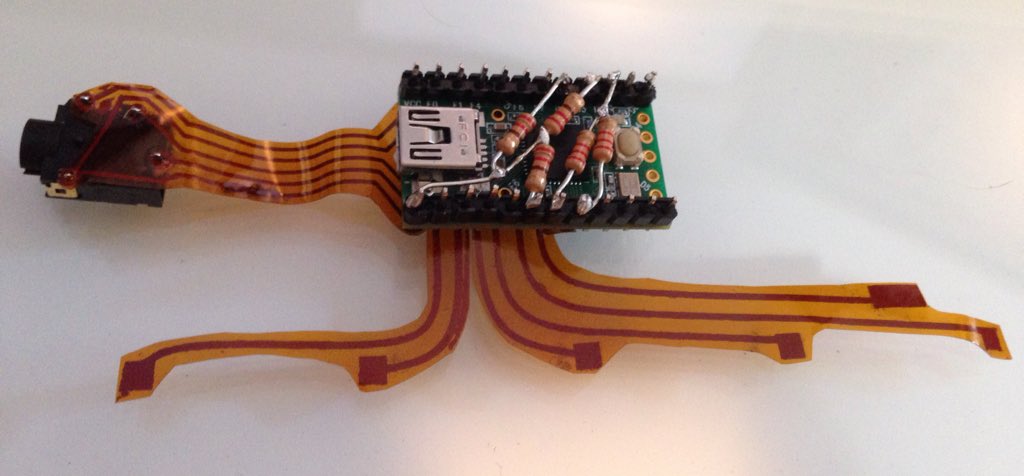
Solder the Teensy 2.0 like so:
Some interesting pull up 10k resistor business here... (TODO add a small diagram and notes)
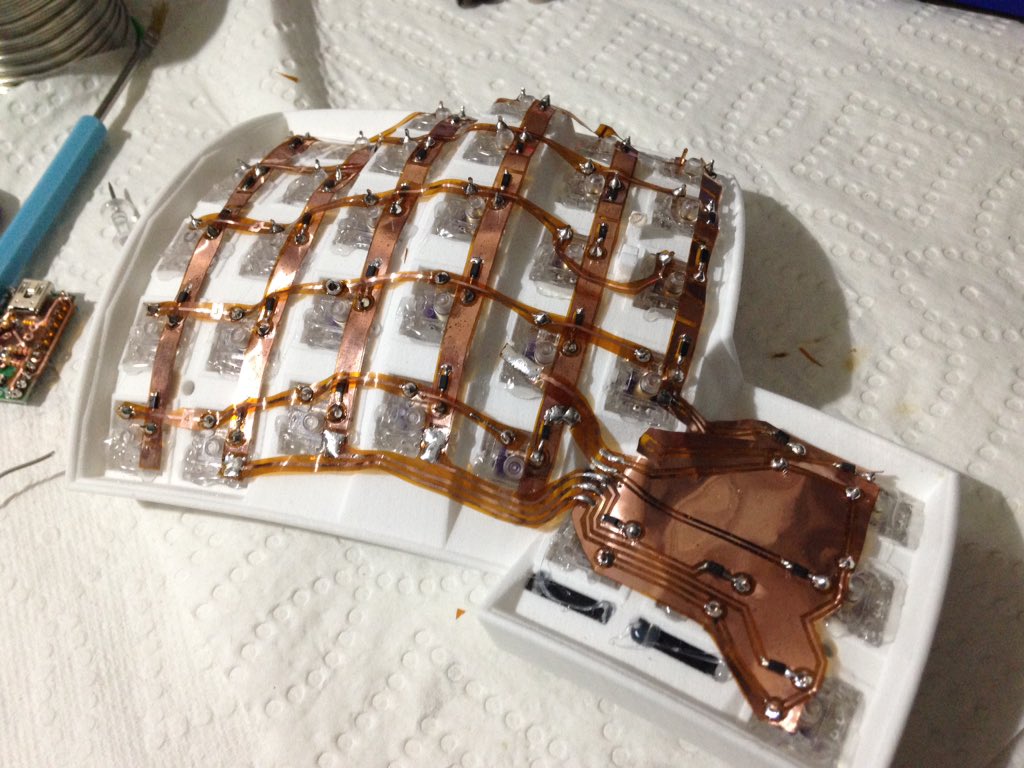
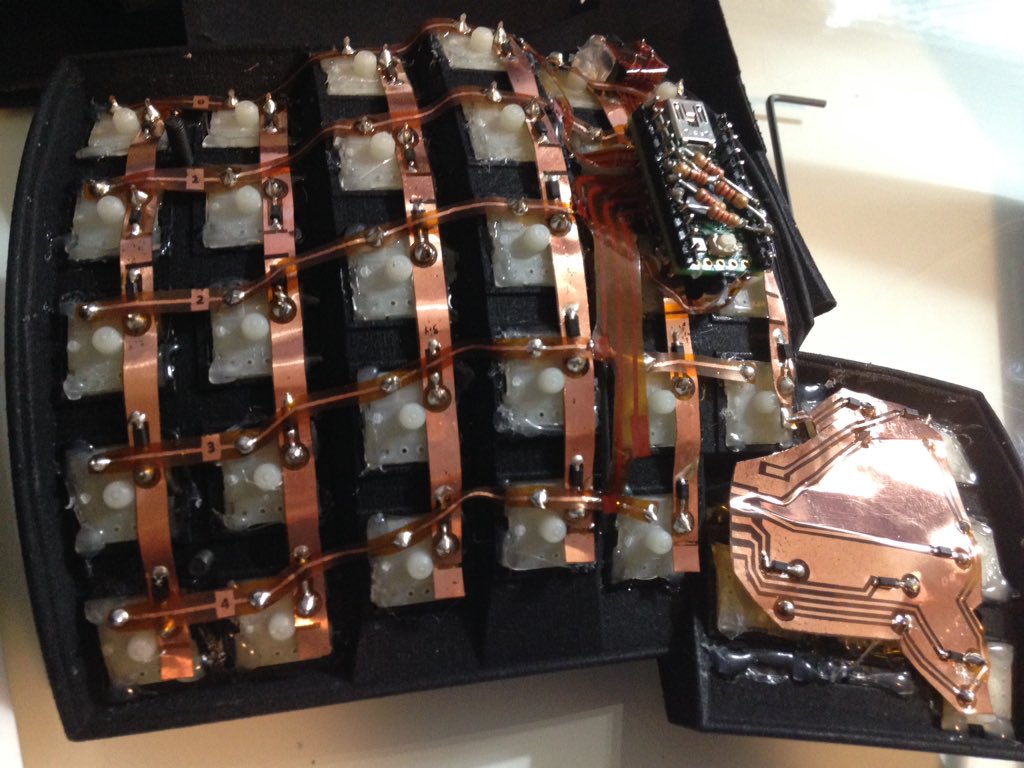
Each hand of the keyboard will wire up like so:
Teensy goes here... note the rows soldered to the teensy via the Pyralux:
Here the left hand:

That's all for now, this guide will improve over time! (TODO!)